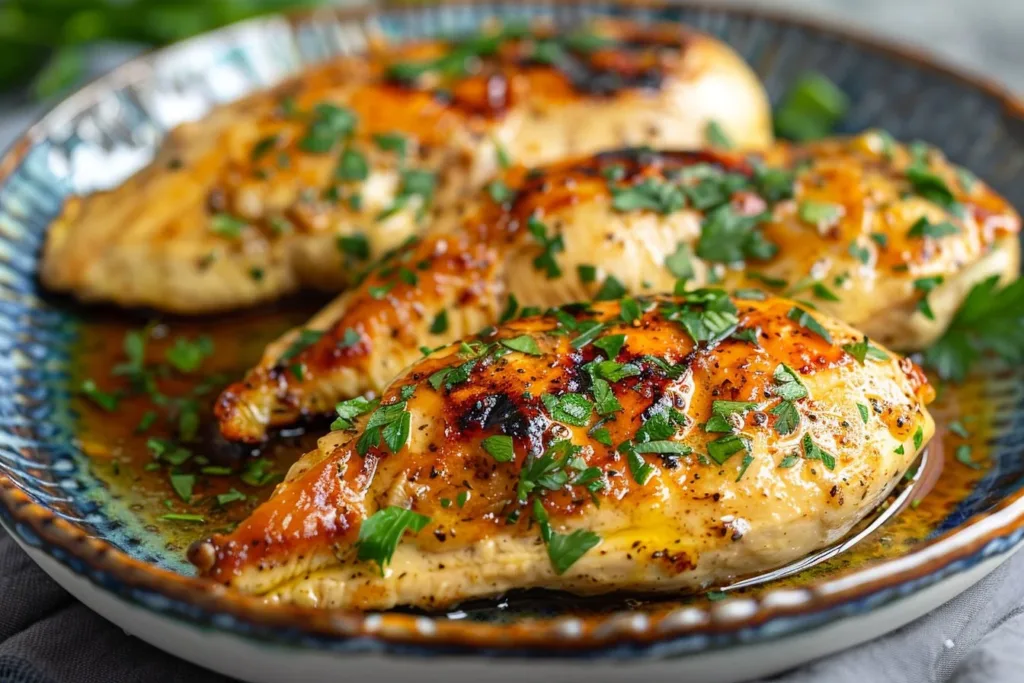
Garlic Butter Chicken is one of those delightful dishes that brings comfort and flavor to the dinner table with minimal fuss. Do you ever crave a meal that’s not only easy to make but also packs a punch of flavor? This garlic butter chicken recipe answers that call and adds a touch of elegance to your weeknight dinners. Imagine succulent chicken thighs bathing in a rich garlic butter sauce, paired with your favorite sides for a fantastic meal that everyone will love. Let’s dive into how to create this mouthwatering dish that’s sure to please!
Print
Garlic Butter Chicken
- Total Time: 40 minutes
- Yield: 4 servings 1x
Description
A delightful and easy-to-make meal featuring succulent chicken thighs bathed in a rich garlic butter sauce.
Ingredients
- 4 chicken thighs (bone-in, skin-on for maximum flavor)
- 4 tablespoons unsalted butter
- 6 cloves garlic, minced
- 1 teaspoon dried thyme
- 1 teaspoon dried rosemary
- 1 teaspoon paprika
- Salt and pepper to taste
- Lemon juice (freshly squeezed, to taste)
- Fresh parsley, chopped (for garnish)
Instructions
- Start by patting the chicken thighs dry with paper towels. Season generously with salt, pepper, thyme, rosemary, and paprika on both sides.
- In a large skillet, melt the butter over medium heat until it starts to foam. Place the chicken thighs skin-side down into the skillet and cook for about 7-8 minutes without moving them.
- Flip the chicken thighs over and add the minced garlic to the skillet, stirring occasionally. Cook for another 7-8 minutes until the chicken is fully cooked, reaching an internal temperature of 165°F.
- Once cooked, squeeze fresh lemon juice over the chicken and stir to combine the garlic butter sauce.
- Serve the chicken hot, garnished with freshly chopped parsley and drizzle remaining butter sauce over the chicken.
Notes
Consider marinating the chicken earlier in the day for enhanced flavor. Pair with garlic mashed potatoes, a fresh green salad, or roasted vegetables for the perfect meal.
- Prep Time: 10 minutes
- Cook Time: 30 minutes
- Category: Main Course
- Method: Sauteing
- Cuisine: American
Nutrition
- Serving Size: 1 thigh
- Calories: 400
- Sugar: 1g
- Sodium: 500mg
- Fat: 28g
- Saturated Fat: 10g
- Unsaturated Fat: 12g
- Trans Fat: 0g
- Carbohydrates: 2g
- Fiber: 0g
- Protein: 32g
- Cholesterol: 120mg
Ingredients
- 4 chicken thighs (bone-in, skin-on for maximum flavor)
- 4 tablespoons unsalted butter
- 6 cloves garlic, minced
- 1 teaspoon dried thyme
- 1 teaspoon dried rosemary
- 1 teaspoon paprika
- Salt and pepper to taste
- Lemon juice (freshly squeezed, to taste)
- Fresh parsley, chopped (for garnish)
Substitutions and Optional Ingredients
- For a lighter option, you can use chicken breast instead of thighs.
- Olive oil can replace butter if you’re looking for a dairy-free alternative.
- Adjust the seasoning: toss in chili flakes for a spicy kick or some honey for a hint of sweetness.
- Feel free to add vegetables like asparagus or broccoli to the pan while cooking for a complete meal.
Timing
Preparation time is about 10 minutes, while cooking takes roughly 25-30 minutes. So, you can have this delightful dish ready in about 35-40 minutes! If you’re pressed for time, consider marinating the chicken earlier in the day. This not only adds flavor but can speed up your cooking in the evening.
How to Make Garlic Butter Chicken
Step 1: Start by patting the chicken thighs dry with paper towels. This ensures a nice sear when they hit the pan. Season generously with salt, pepper, thyme, rosemary, and paprika on both sides.
Step 2: In a large skillet, melt the butter over medium heat until it starts to foam. This is where the magic begins! When the butter is fragrant, place the chicken thighs skin-side down into the skillet. Allow them to cook for about 7-8 minutes without moving them. This will create a lovely golden-brown crust.
Step 3: Flip the chicken thighs over and add the minced garlic to the skillet. It’s important to keep an eye on the garlic, stirring occasionally to prevent burning, which can happen quickly. Cook for another 7-8 minutes until the chicken is fully cooked and reaches an internal temperature of 165°F.
Step 4: Once cooked, squeeze fresh lemon juice over the chicken, and give everything a good stir to combine the garlic butter sauce. Let all those flavors meld together for an additional couple of minutes on low heat.
Step 5: Serve the chicken hot, garnished with freshly chopped parsley for that pop of color. Drizzle any remaining butter sauce over the chicken for an indulgent finish.
Healthier Alternatives
If you’re looking to lighten this dish, consider these swaps:
- Use bone-in, skinless chicken thighs or chicken breasts for lower fat content.
- Instead of butter, experiment with a plant-based spread or a light olive oil blend.
- Swap out regular flour for almond flour if you’re making a gluten-free version.
These changes can make the dish healthier while still delivering fantastic flavor and keeping the essence of garlic butter chicken intact.
Serving Suggestions
Garlic Butter Chicken pairs beautifully with various sides. Consider serving it with:
- Garlic mashed potatoes, which complement the flavors seamlessly.
- A fresh green salad with a tangy vinaigrette to add a crunchy texture.
- Roasted vegetables like carrots or zucchini, enhancing the meal’s healthiness.
- Lightly toasted crusty bread for sopping up that delicious garlic butter sauce.
For beverages, think about a refreshing iced tea or herbal tea. These drinks can balance the richness of the dish nicely.
Common Mistakes to Avoid
- Don’t overcrowd the pan when searing the chicken; this can cause them to steam instead of brown.
- Use fresh garlic; old or dried garlic may not provide the depth of flavor you’re after.
- Allow the chicken to rest a few minutes after cooking; this helps retain the juices and keeps it moist.
Storage Tips
After enjoying your meal, store leftovers promptly. You can keep Garlic Butter Chicken in the refrigerator for up to 3-4 days in an airtight container. To reheat, pop it in the microwave or warm it gently on the stove. If you’re feeling adventurous, freeze leftovers for up to 3 months. Just remember, if you’re reheating from frozen, it’s best to let it thaw in the fridge overnight before warming up.
FAQs
What’s the best way to season my chicken for more flavor?
Using a mix of herbs and spices, including garlic, thyme, and paprika, enhances flavor dramatically. Don’t be shy with the seasoning!
Can I use chicken breasts instead of thighs?
Absolutely! Chicken breasts will cook more quickly, so just keep an eye on the cooking time to prevent them from drying out.
How can I make this dish dairy-free?
Simply swap the butter for a dairy-free alternative, like olive oil or a plant-based spread, which will still deliver a satisfying result.
Can I make this dish ahead of time?
Yes! You can prepare the chicken and the sauce ahead of time and reheat it before serving. Just store it properly in the refrigerator until you’re ready to enjoy it.
What can I serve with Garlic Butter Chicken?
A variety of sides works well, including mashed potatoes, a fresh salad, or roasted vegetables. Don’t forget some bread to soak up that sauce!
Conclusion
Garlic Butter Chicken not only satisfies your cravings for a hearty meal but also makes your kitchen smell divine. It’s the perfect recipe to whip up on a busy weeknight or impress a special guest. The blend of flavors and simple ingredients creates a dish that showcases garlic in all its fragrant glory. Go ahead, try this recipe, and maybe even explore other delightful chicken recipes to enhance your culinary prowess. You’re bound to find this dish a staple in your kitchen!