Making your own homemade strawberry jam can be a delightful experience. It’s like capturing summer in a jar, bringing a burst of sweetness to your breakfast table or elevating your dessert game. But have you ever wondered how simple it is to prepare? Well, let’s dive into the world of jam-making, where fresh strawberries transform into a luscious spread that can brighten up your day.
Print
Homemade Strawberry Jam
- Total Time: 45 minutes
- Yield: 4 servings
Description
Delicious and delightful homemade strawberry jam bursting with flavor, perfect for spreading on toast or using in desserts.
Ingredients
- Fresh Strawberries: 2 pounds, hulled and sliced
- Granulated Sugar: 4 cups
- Lemon Juice: 1/4 cup (freshly squeezed)
- Pectin: 1 package
- Butter: 1 tablespoon (optional)
Instructions
- Begin by gathering all your ingredients and equipment, including a large pot, utensils for stirring, and sterilized jars ready for the jam.
- Rinse your fresh strawberries under cool water and remove the green tops. Slice them into quarters or smaller pieces, depending on your texture preference.
- In the large pot, combine the sliced strawberries and lemon juice.
- Stir in the sugar gradually, ensuring that it coats the strawberries evenly. Let this mixture sit for about 10-15 minutes.
- After the resting period, place the pot over medium heat. Stir constantly until the sugar completely dissolves. Once the mixture starts bubbling, add the pectin and butter.
- Increase the heat to medium-high and bring the mixture to a full rolling boil. Boil for 1-2 minutes.
- To test the jam’s consistency, place a spoonful on a plate and let it cool for a minute.
- Once it’s reached the desired consistency, carefully pour the hot jam into your prepared sterilized jars, leaving about 1/4-inch headspace at the top.
- Seal the jars with lids, and process them in a boiling water bath for about 10 minutes for long-term storage.
Notes
Optional: Use honey or maple syrup as a natural sweetener. Can mix in other fruits or spices for variation.
- Prep Time: 15 minutes
- Cook Time: 30 minutes
- Category: Preserves
- Method: Canning
- Cuisine: American
Nutrition
- Serving Size: 1 serving
- Calories: 230
- Sugar: 55g
- Sodium: 1mg
- Fat: 0g
- Saturated Fat: 0g
- Unsaturated Fat: 0g
- Trans Fat: 0g
- Carbohydrates: 58g
- Fiber: 2g
- Protein: 0g
- Cholesterol: 0mg
Ingredients
For this vibrant, homemade strawberry jam, you’ll need the following ingredients:
- Fresh Strawberries: 2 pounds, hulled and sliced
- Granulated Sugar: 4 cups
- Lemon Juice: 1/4 cup (freshly squeezed for best flavor)
- Pectin: 1 package (often found near canning supplies)
- Butter: 1 tablespoon (to reduce foaming, optional)
Substitutions and Optional Ingredients
If you’re looking for alternatives or additional flavors, consider:
- Sugar Alternatives: Use honey or maple syrup in the same quantity for a natural sweetener.
- Low-Sugar Pectin: Look for varieties specifically made for low-sugar jams.
- Fruit Variations: Mix in raspberries or blueberries for a delightful berry medley.
- Herbs and Spices: A touch of vanilla or a dash of cinnamon can add unique flavors to your jam.
Timing
To prepare your homemade strawberry jam, allow for the following times:
- Prep Time: 15 minutes
- Cooking Time: 30 minutes
- Total Time: 45 minutes
This jam sets fairly quickly, so you won’t have to wait all day for dessert!
How to Make Homemade Strawberry Jam
Let’s get started on crafting this delightful treat with some clear steps and handy tips:
Step 1: Begin by gathering all your ingredients and equipment, including a large pot, utensils for stirring, and sterilized jars ready for the jam. This ensures a smooth workflow as you cook.
Step 2: Rinse your fresh strawberries under cool water and remove the green tops. Slice them into quarters or smaller pieces, depending on your texture preference. If you like a chunkier jam, leave larger pieces intact.
Step 3: In the large pot, combine the sliced strawberries and lemon juice. The acidity of the lemon not only adds flavor but also helps to balance the sweetness of the sugar.
Step 4: Stir in the sugar gradually, ensuring that it coats the strawberries evenly. Let this mixture sit for about 10-15 minutes, as it allows the strawberries to release their juices, creating a syrupy blend.
Step 5: After the resting period, place the pot over medium heat. Stir constantly until the sugar completely dissolves. Once the mixture starts bubbling, add the pectin and butter. The pectin aids in thickening the jam while the butter helps minimize foaming.
Step 6: Increase the heat to medium-high and bring the mixture to a full rolling boil. Boil for 1-2 minutes, ensuring it’s bubbling continuously.
Step 7: To test the jam’s consistency, place a spoonful on a plate and let it cool for a minute. Run your finger through it; if it holds its shape, you’re ready to pour! If it’s too runny, continue boiling for a minute and test again.
Step 8: Once it’s reached the desired consistency, carefully pour the hot jam into your prepared sterilized jars, leaving about 1/4-inch headspace at the top. Wipe the rims of the jars with a clean cloth to ensure a proper seal.
Step 9: Seal the jars with lids, and process them in a boiling water bath for about 10 minutes for long-term storage. If you’re using the jam right away, allow it to cool completely at room temperature.
Healthier Alternatives
If you’re aiming for a healthier option, consider these modifications:
- Lower Sugar: Utilize natural sweeteners like agave or coconut sugar, adjusting to taste.
- Pectin-Free Version: For a more natural approach, cook strawberries down until thick without pectin, stirring continuously.
- Nut-Free: Rest assured, this recipe doesn’t require any nut-based ingredients, making it safe for those with allergies.
Serving Suggestions
This homemade strawberry jam can be enjoyed in various delightful ways:
- Spread it thick on warm toast or English muffins for a satisfying breakfast.
- Pair it with creamy yogurt or oatmeal for an enhanced morning bowl.
- Use it as a filling in pastries or cupcakes for an extra layer of sweetness.
- Drizzle over pancakes or waffles, maybe even with a sprinkle of powdered sugar for a fancy brunch.
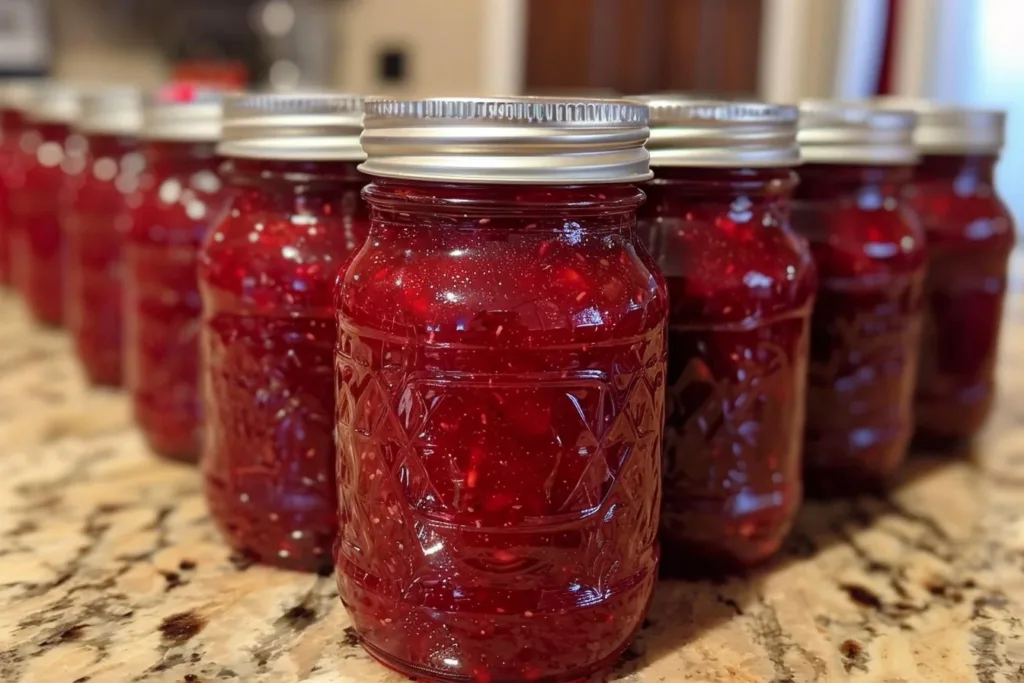
Presentation is key! Serve it in attractive jars tied with twine and a label for gifting or at a brunch table.
Common Mistakes to Avoid
Making jam can be pretty straightforward, but there are pitfalls to watch out for:
- Skipping the pectin: It’s essential for proper consistency; don’t omit it unless you’re prepared to experiment.
- Not testing for consistency: Always check; you can always boil longer, but it’s harder to salvage if it’s too thick.
- Overfilling jars: Leave space at the top; this allows for expansion during processing.
- Ignoring sterilization: Properly wash and sterilize jars to avoid spoilage.
Storage Tips
To keep your homemade strawberry jam fresh for longer, follow these storage guidelines:
- Refrigerate: Once opened, store the jam in the fridge for up to 3 weeks.
- Freeze: If you’d like to keep it for longer, transfer it to airtight containers and freeze for up to a year. Just make sure to leave space for expansion.
- Reheating: If it gets too thick after freezing, simply stir in a bit of water or heat gently to loosen it up.
FAQs
Can I use frozen strawberries instead of fresh?
Absolutely! Frozen strawberries work just as well. Just ensure they’re fully thawed and drained before using. They may result in a slightly different texture, but still yield tasty jam.
How can I tell if my jam has set properly?
Perform the plate test: Place a spoonful of the jam on a cold plate, let it cool, and run your finger through it. If it holds its shape, it’s set!
How long can I store homemade strawberry jam?
In the refrigerator, it lasts up to 3 weeks. If stored properly in the freezer, it can stay fresh for up to a year.
Do I need to process the jars in a water bath?
Yes, this is crucial for long storage. Water bath processing ensures a proper seal reduces spoilage risks.
Can I double the recipe?
Sure! Just make sure you have a large enough pot to accommodate the increased volume and monitor the cooking time closely to ensure even thickening.
Conclusion
Homemade strawberry jam is not just a straightforward recipe but a culinary adventure that brings warmth to any occasion. With just a few simple ingredients and steps, you can create something delicious and satisfying. So why not give it a try? Gather your fresh strawberries, and start your jam-making journey today! If you enjoyed this recipe, consider exploring other delightful homemade preserves or even different fruit jams for more delicious fun.